| How to Wall Mount Just About Anything |
NOTE: please make sure you have the correct wall fixings for your type of wall. These can be purchased from any DIY store who will be able to give you professional advice. Wall mounting may be easier with more than one person. If you are not confident hire a professional to wall mount the product.
Wall Mounting Types:
Most wall mounted products are fixed to the wall in one of the following ways:
1) Through mounting
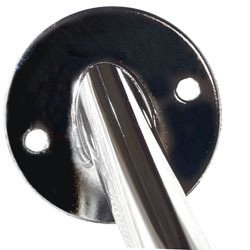
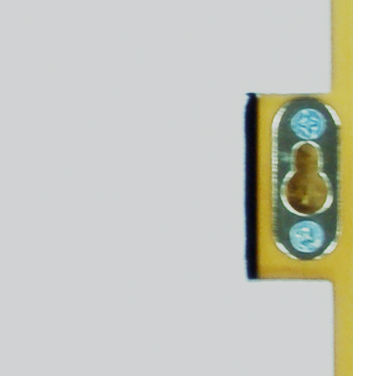
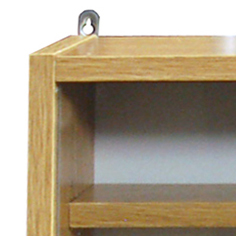
2) Keyhole plates
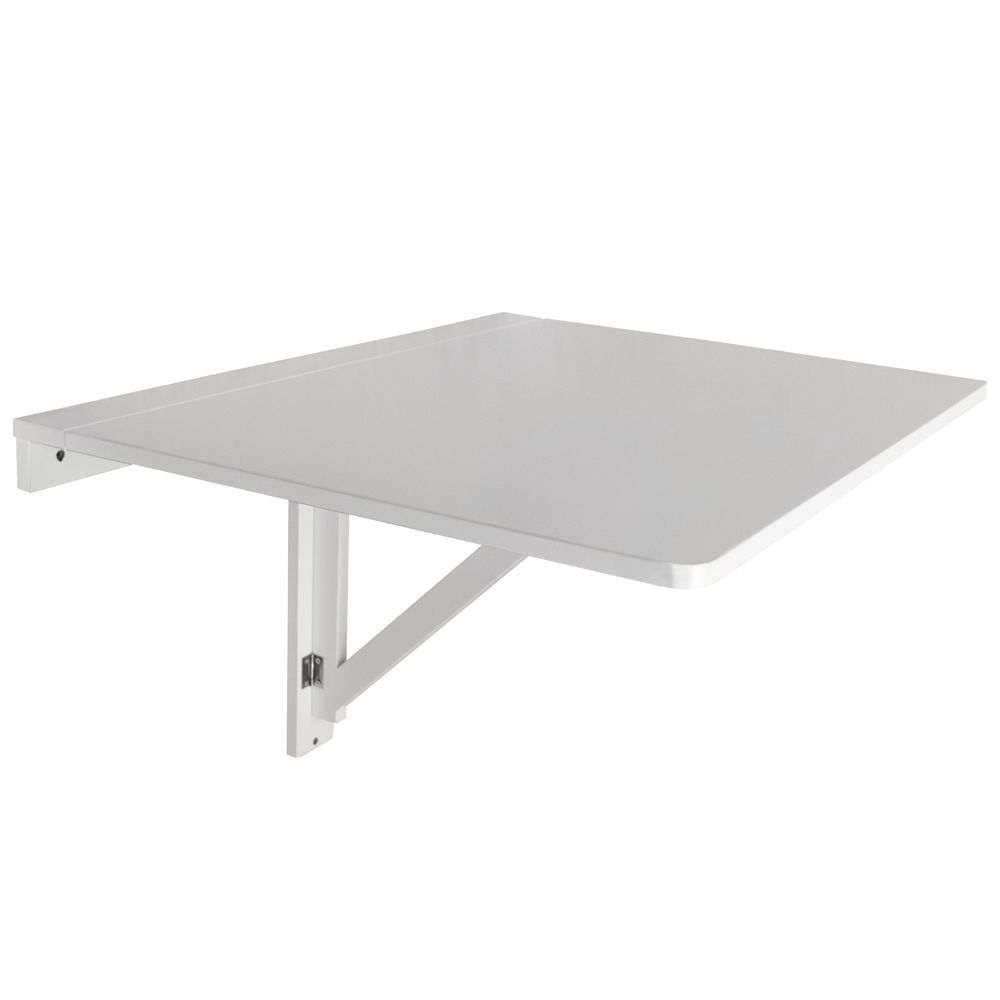
3) Floating shelf bracket
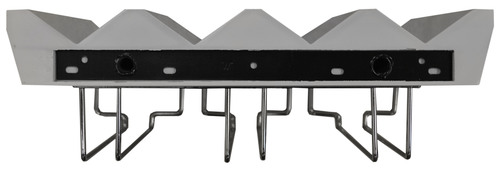

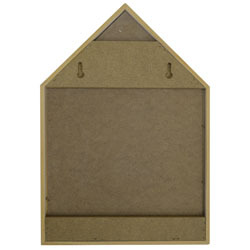
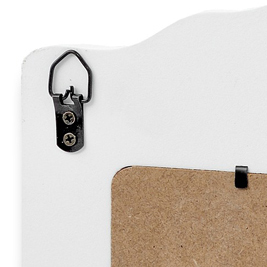
4) Picture frame / hanging ring / serrated bar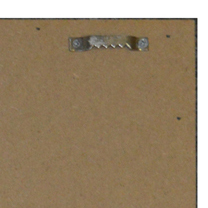
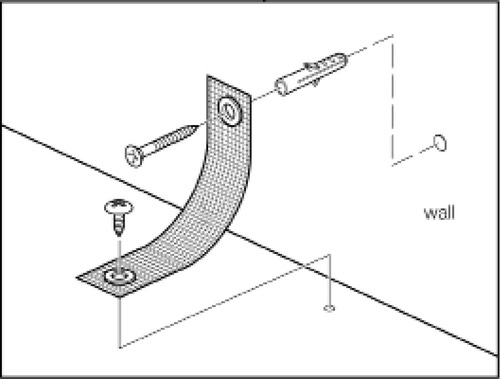
5) Wall fixing strap / bracket
In every case the wall fixings used must be suitable for the type of wall and the weight of the item to be mounted. A picture frame will be lighter than a wall cupboard – and stronger fixings should be used for heavier items OR items such as cupboards which will be heavy once you have filled them up. We would recommend that even lightweight items are hung on screws and not nails for safety reasons.
TIP: Use a larger gauge wall fixing if you are not sure.
Basic Tools:
Pencil
Drill
Drill bit
Tape measure
Hammer (for inserting wall plugs)
Spirit level
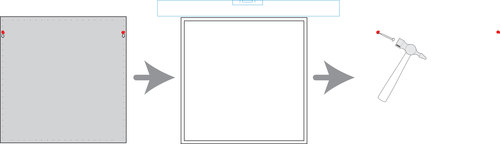
How to Wall Mount:
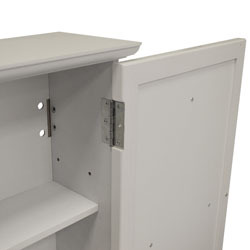
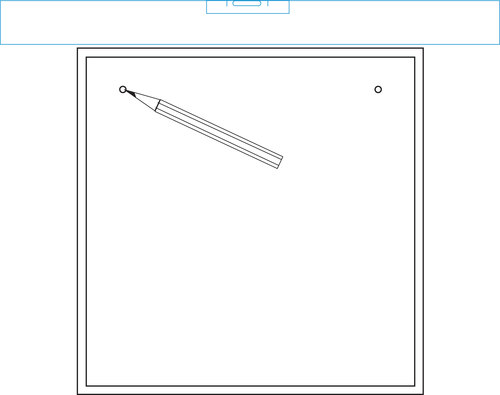
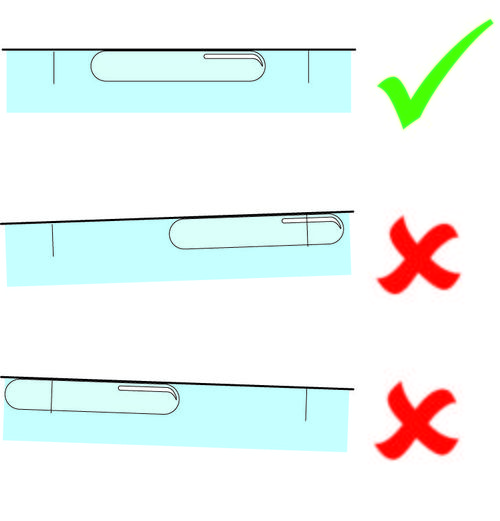
If the wall mounting holes ARE accessible from the front of the unit; as in through mounting, floating shelf brackets and wall fixing straps / brackets options - simply place the item on the wall in the desired position, make sure the item is level either by using a spirit level OR measuring from another level surface, and mark through the centre of the holes with a pencil. Again recheck the marks are level and in the correct place. Check for hidden pipes or wires and drill suitable holes for your chosen wall plugs and fix to the wall using your chosen screws.
TOOLS: Pencil, Spirit level, Drill, Drill bit, Screwdriver (or bit for drill)
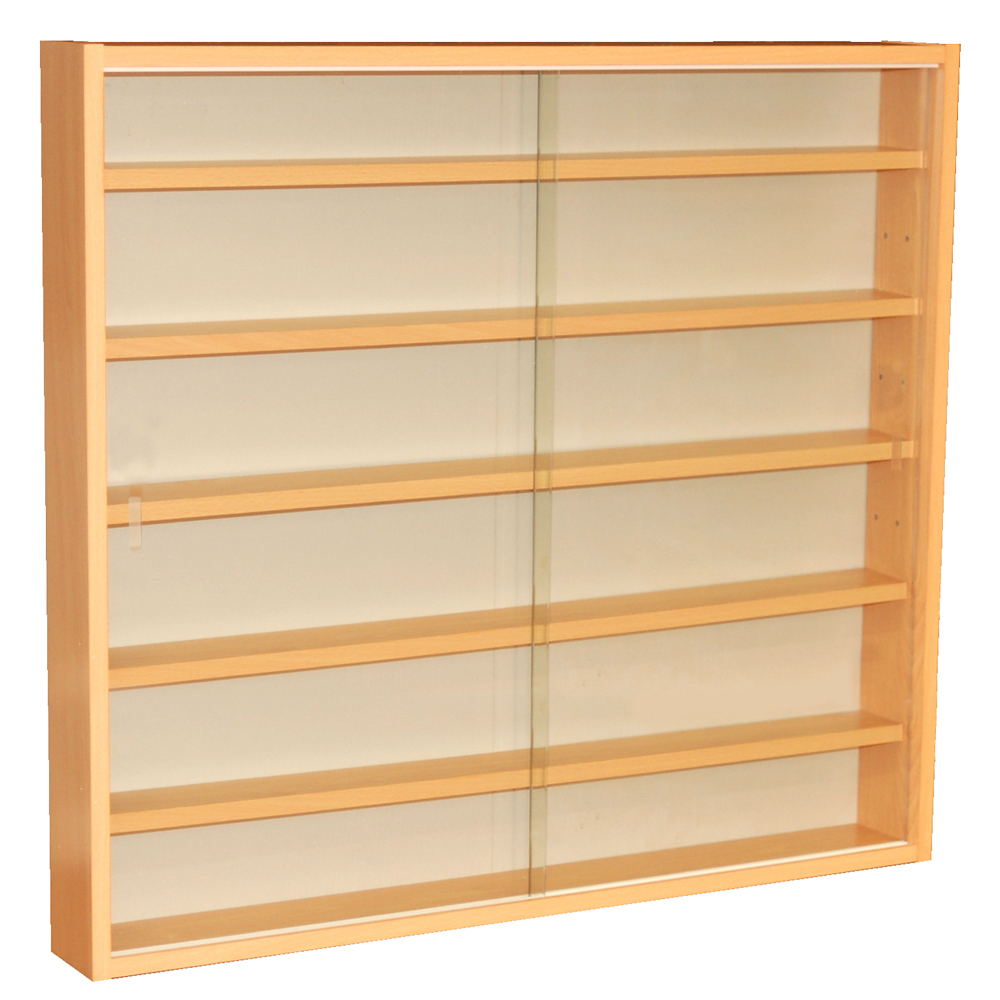
If the wall mounting holes are NOT visible from the front; as in keyhole plates, picture frame / serrated bars there are a few options:
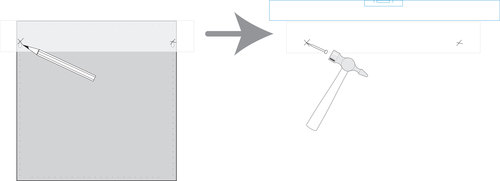
1) Make a paper template of the back of the product, place the template on the wall, make sure the item is level either by using a spirit level OR measuring from another level surface, and mark through where the centre of the hanging holes would be with a nail and hammer or bradawl.
TOOLS: Pencil, Paper, Spirit level, Hammer & Nail / Bradawl, Drill, Drill bit, Screwdriver (or bit for drill)
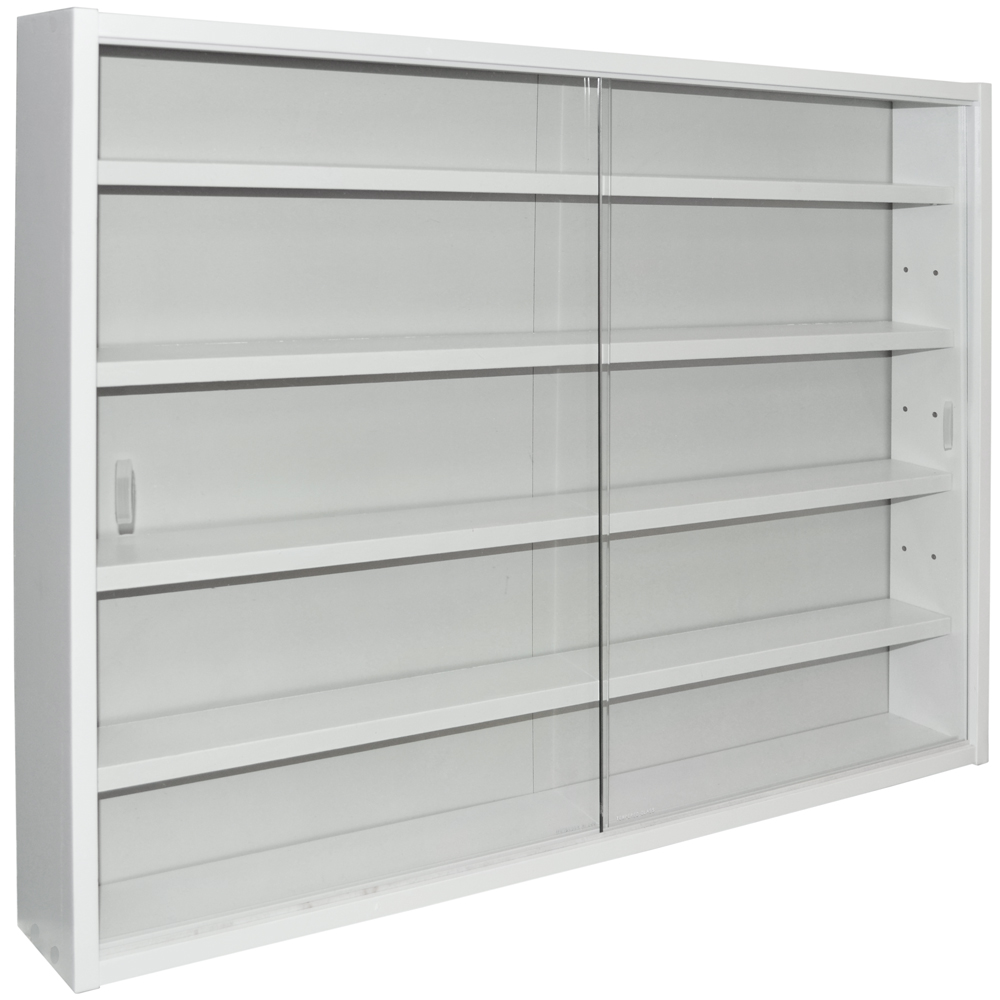
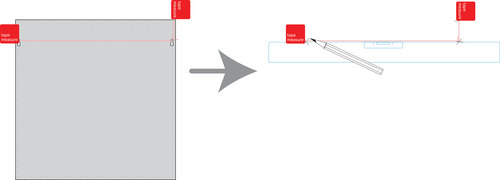
2) Measure hanging hole positions on the back of the unit from the top of the unit, the sides and the distance between hanging holes if more than one. Offer the unit up to the wall in desired position and mark the top right corner position, then transfer the other measurements to the wall using a pencil and ruler - make sure the marks are level either by using a spirit level OR measuring from another level surface.
TOOLS: Tape measure, Pencil, Spirit level, Drill, Drill bit, Screwdriver (or bit for drill)
3) You can add a dot of toothpaste, or similar paste, onto the back of the unit where the hanging holes are. Offer the unit up to the wall at a small distance so the paste does not make contact, make sure the item is level either by using a spirit level OR measuring from another level surface, gently move the unit towards the wall and the paste will mark the wall where you need to drill, reinforce the position of the paste dots with a hammer and nail / bradawl.
TOOLS: Paste, Spirit level, Hammer & Nail / Bradawl, Drill, Drill bit, Screwdriver (or bit for drill)
... Recheck the marks are level and in the correct place. Check for hidden pipes or wires then drill suitable holes for your chosen wall plugs, add your chosen screws leaving some of the screw protruding and carefully hang the unit on the screws. You may need to adjust the amount that the screw sticks out from the wall to ensure your wall hung item lies flat and is secure.
Types of Wall Fixings:
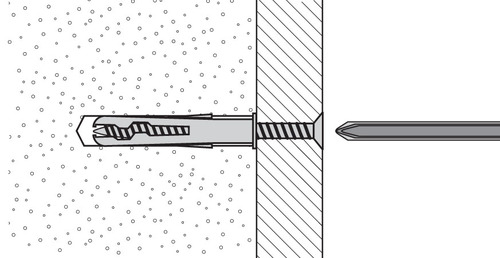
GENERAL PURPOSE:
Generally aerated blocks should not be used to support heavy loads, use a specialist fitting in this case. For light loads, general purpose wall plugs can be used.
PLASTERBOARD:
For use when attaching light loads on to plasterboard partitions and walls
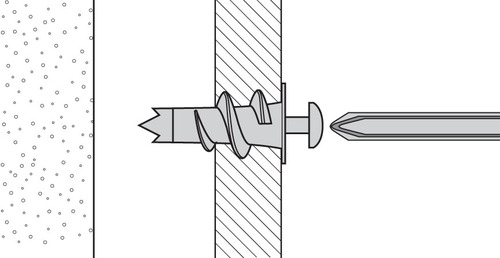
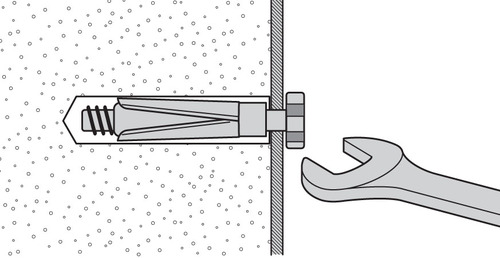
CAVITY FIXING:
For use with plasterboard partitions and walls or hollow wooden doors.
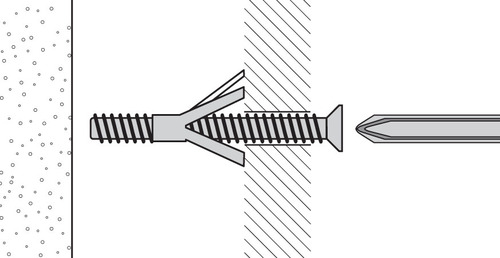
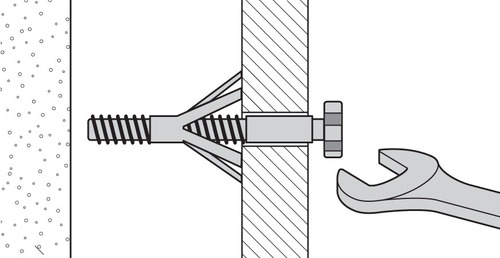
CAVITY “HEAVY DUTY”:
For use when fitting or supporting heavy loads such as shelving, wall cabinets and coat racks.
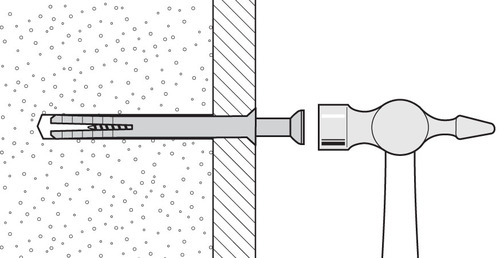
HAMMER FIXING:
For use with walls where plasterboard is directly adhered to a solid with no cavity. The hammer fixing allows it to be fixed to the wall rather than he plasterboard. Always check the fixing is secure to the retaining wall.
SHEILD ANCHOR “HEAVY DUTY”:
For use with heavier loads such as TVs, kitchen wall cupboard, HiFi speakers and satellite dishes etc. For solid walls only.
Please see this printable guide: A Guide to - Wall Mounting & Fixings